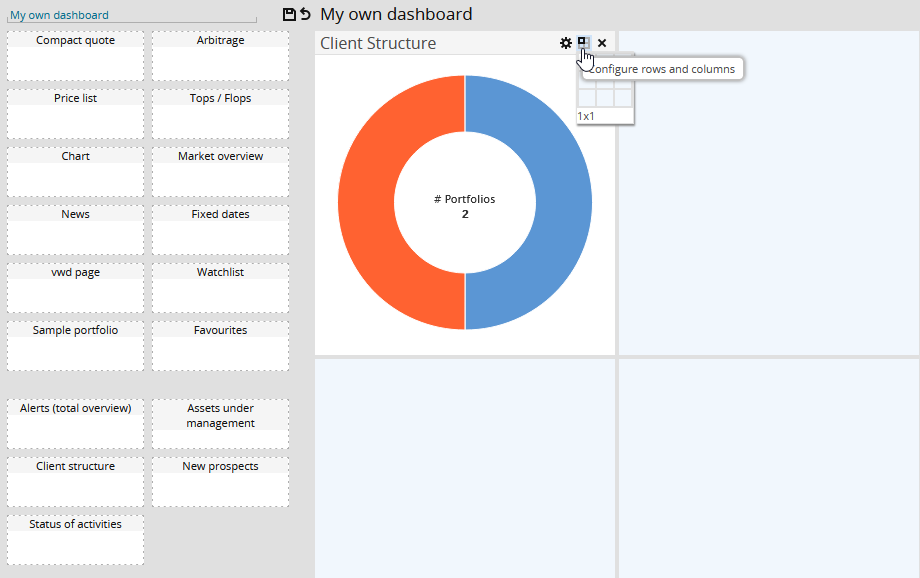
You can edit global dashboards if you have the corresponding permission. To do this, follow these steps:
-
Click the "Dashboards" icon in the main menu to open the "Dashboards" workspace.
-
In the list in the navigation pane, select the dashboard that you want to edit.
-

-
In the input field above, enter a new name for the holder dashboard.
In edit mode, a panel with widgets appears instead of the navigation pane. You can drag them to the light blue cells.


For more information on working with widgets, see Create global dashboard. -

If you leave the edit mode (for example, by selecting a different area), then your changes are also saved. -